
The SQWAD Confluence Scalp - Strategy & Settings
A concrete, rule-based crypto scalping strategy with exact indicator settings, entry/exit rules, and risk parameters. For educational purposes only - not financial advice.
NOTE⚠️ Educational Purposes Only - Not Financial Advice The strategy and settings below are provided for educational and informational purposes only. They are not financial, investment, or trading advice. Crypto markets are extremely volatile and you can lose your entire capital. Always do your own research (DYOR), practise on a demo account first, and never trade with money you cannot afford to lose. SQWAD is an educational platform and is not responsible for any trading losses.
This guide presents a concrete, rule-based scalping strategy with exact settings. It builds on the principles from Scalping - Trading, The SQWAD Method. Read that guide first for the risk management and psychology framework - this guide focuses on the mechanical setup.
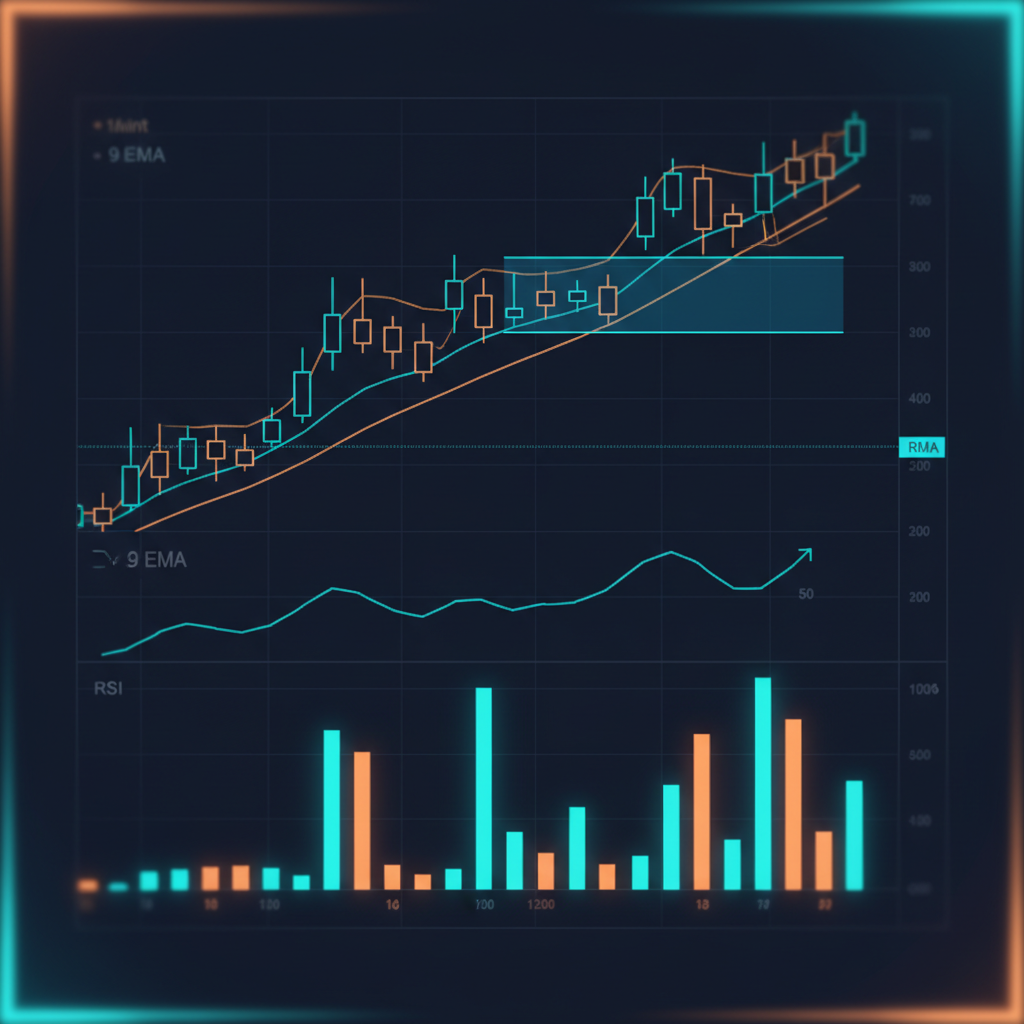
The SQWAD Confluence Scalp is a trend-following pullback strategy designed for the 1-minute and 5-minute timeframes. It combines a fast and slow moving average for trend direction, RSI for momentum confirmation, and volume for conviction. The goal is to enter on pullbacks within an established trend and exit at predefined targets.
| Attribute | Setting | |-----------|---------| | Style | Trend-following pullback scalp | | Timeframe | 1m execution, 5m/15m trend filter | | Markets | High-liquidity crypto pairs (BTC, ETH, major alts) | | Session | High-volume sessions only (London / New York overlap) | | Avg hold time | 1 - 15 minutes | | Win rate target | 45 - 55% | | Reward-to-risk | 1.5:1 minimum | | Max trades/day | 10 |
All settings are starting points. Adjust them to your market and timeframe, but do not change them mid-session - consistency is what makes the edge measurable.
- Fast EMA - 9 period (Exponential Moving Average).
- Slow EMA - 21 period.
- Trend filter EMA - 50 period (on the 5m chart).
Trend rule:
- Price above the 50 EMA on 5m = only look for longs.
- Price below the 50 EMA on 5m = only look for shorts.
- Price chopping around the 50 EMA = no trade.
- Length - 7 (faster than default to suit scalping).
- Overbought - 70.
- Oversold - 30.
- Source - close.
Momentum rule:
- For longs - RSI pulls back toward 40-50 then turns up (not already overbought).
- For shorts - RSI rallies toward 50-60 then turns down (not already oversold).
- Volume MA - 20 period simple moving average of volume.
- Use the default volume histogram.
Volume rule:
- The confirmation candle must have volume above the 20-period average. Low-volume moves are skipped.
- Manually mark recent support and resistance zones on the 5m chart.
- Mark obvious liquidity pools (recent highs/lows where stops cluster).
- These levels are your entry zones and your targets.
NOTE⚠️ Warning - Indicators are tools, not triggers. No single indicator generates a trade. Every entry requires confluence - trend + level + momentum + volume.
All conditions must be true at the same time:
- 5m trend - price is above the 50 EMA on the 5m chart.
- Pullback - price has pulled back toward the 9/21 EMA zone or a marked support level on the 1m chart.
- Momentum shift - a bullish candle (green) closes above the 9 EMA with RSI turning up from the 40-50 zone.
- Volume - the confirmation candle volume is above the 20-period average.
- Level - price is at or near a pre-marked support zone.
Entry - buy on the close of the confirmation candle.
Mirror of the long setup:
- 5m trend - price is below the 50 EMA on the 5m chart.
- Pullback - price has rallied toward the 9/21 EMA zone or a marked resistance level on the 1m chart.
- Momentum shift - a bearish candle (red) closes below the 9 EMA with RSI turning down from the 50-60 zone.
- Volume - the confirmation candle volume is above the 20-period average.
- Level - price is at or near a pre-marked resistance zone.
Entry - sell on the close of the confirmation candle.
NOTE✅ Pro tip - The best setups occur when the pullback lands exactly on a confluence of the 9/21 EMA zone AND a pre-marked support/resistance level. The more reasons stacked together, the higher the probability.
- Long - place the stop just below the swing low of the pullback (the invalidation point).
- Short - place the stop just above the swing high of the pullback.
- The stop is never widened. If price approaches it, you let it hit - do not move it away.
The SQWAD Method uses a two-part exit:
- Target 1 (1R) - bank 50% of the position at 1x the risk distance. Move the stop on the remainder to break-even.
- Target 2 (1.5R - 2R) - trail the remaining 50% toward the next key level or use a trailing stop under the 9 EMA (long) / above the 9 EMA (short).
This locks in a risk-free runner while banking an early win.
If a trade has not moved meaningfully in your favour within 5 minutes (for a 1m scalp), consider exiting at market. Dead trades tie up capital and attention.
These are the non-negotiable money management rules for the strategy.
| Setting | Value | |--------|-------| | Risk per trade | 0.5% - 1% of account | | Max daily loss | 2% - 3% of account | | Max trades per day | 10 | | Max consecutive losses before stop | 3 (3-strike rule) | | Minimum R:R | 1.5:1 | | Position sizing | Based on stop distance, not fixed quantity |
NOTE⚠️ Warning - Position size is calculated from the stop distance so that a hit stop equals your fixed risk percentage. Never size by "feeling" or by a fixed coin quantity. The stop distance defines the size.
Scalping relies on liquidity and volatility. The strategy is only traded during high-activity windows:
- London session - 08:00 - 11:00 UTC.
- New York session - 13:00 - 16:00 UTC.
- Overlap - 13:00 - 16:00 UTC (highest liquidity).
Avoid:
- Low-liquidity weekend hours.
- The first 5 minutes around major news releases (extreme slippage).
- The last hour before a daily close on low-volume alts.
- 5m chart shows BTC trending up, price well above the 50 EMA.
- Price pulls back on the 1m chart into the 9/21 EMA zone, which also sits on a marked support level.
- A green candle closes above the 9 EMA. RSI was around 45 and now turns up.
- Volume on the confirmation candle is above the 20-period average.
- All five conditions met - enter long.
- Stop placed just below the pullback swing low.
- Price reaches 1R - bank 50%, move stop to break-even.
- Price reaches 1.5R at the next resistance - exit the runner.
- Log the trade in the journal.
NOTE✅ Tip - Not every day will produce a clean setup. Some days you take zero trades. That is a successful day - you preserved capital and followed the rules.
Before risking real capital:
- Backtest the strategy on at least 100 historical setups. Record win rate, average R, and max drawdown.
- Forward test on a demo account for at least 20 sessions.
- Journal every trade - entry, exit, confluences, emotion, outcome.
- Review weekly - which setups worked, which failed, where did discipline break?
- Only trade real money once the demo results are consistently positive over a meaningful sample.
NOTE⚠️ Warning - A few winning demo trades does not validate a strategy. You need a statistically meaningful sample (50+ trades) to know if the edge is real or just luck.
Be honest about what this strategy cannot do:
- It loses in ranging, choppy markets - the trend filter keeps you out, but some false signals will still occur.
- It struggles around news events - volatility spikes can blow through stops.
- It requires active screen time - this is not a set-and-forget strategy.
- Fees matter - high frequency means fees compound. Use low-fee venues and factor fees into your R:R.
- Past performance does not guarantee future results - markets change, edges decay.
Run this before clicking buy or sell:
- [ ] 5m trend agrees with my intended direction.
- [ ] Price is at a pre-marked level or the 9/21 EMA zone.
- [ ] Confirmation candle closed in my favour.
- [ ] RSI confirms momentum (not overbought/oversold against me).
- [ ] Volume is above average.
- [ ] Stop loss is at a logical invalidation.
- [ ] Risk is within my fixed per-trade limit.
- [ ] R:R is at least 1.5:1.
- [ ] I am calm and following the plan.
- [ ] I have not hit my 3-strike or daily loss limit.
If any box is unchecked, no trade.
NOTE⚠️ Educational Purposes Only - Not Financial Advice This strategy and its settings are for education only. They are not a recommendation to trade any asset. Most traders lose money, and scalping is especially demanding. Practise on a demo account, never trade with money you cannot afford to lose, and consult a qualified financial professional before making any investment decisions. SQWAD is an educational platform and accepts no responsibility for any trading losses.
Found this guide helpful? Share it with others